top of page
  • masternixon

The Art of Assembling IKEA Furniture: A Step by Step Guide


Assembling IKEA Furniture

Ikea, the Swedish furniture giant, is renowned for its stylish yet affordable furniture. While the thought of assembling flatpack furniture may seem daunting, it can be an enjoyable and satisfying DIY project. In this guide, we'll walk you through the process of assembling Ikea furniture, step by step, using the provided instructions and a few essential tools.


Tools You'll Need

Before going into the assembly process, gather these seven essential tools to make the job smoother:

1. Phillips Screwdriver: This versatile tool is crucial for tightening screws, which are ubiquitous in Ikea furniture.

2. Hammer: You'll need a hammer for gently tapping wooden dowels and ensuring a snug fit.

3. Allen Wrench (Hex Key): Most Ikea furniture includes Allen wrenches for tightening bolts and screws. However, having a set of various sises can be helpful.

4. Rubber Mallet: A rubber mallet is ideal for securing components without damaging the furniture's finish.

5. Pliers: Pliers can be handy for gripping small nuts or bolts in tight spaces.

6. Tape Measure: Occasionally, you may need to measure and ensure precise alignment, especially when positioning shelves or brackets.

7. Electric Drill (Optional): While not mandatory, an electric drill with a screwdriver bit can significantly speed up the assembly process, especially for larger pieces.


Step 1: Unpack Carefully

Lay out all the parts and components in a clear, uncluttered space.

Check if you have all the necessary parts by referring to the included inventory list.

Ensure you have the correct instruction manual for your specific furniture piece.


Step 2: Read the Instructions Thoroughly

Before you start, take a moment to read through the assembly instructions carefully.

Ikea's instructions are typically visual and straightforward, but it's essential to grasp the entire process before diving in.


Step 3: Organise and Sort Parts

Organise the hardware (screws, bolts, and dowels) into separate containers or cups.

Sort the various components into groups according to their function, making it easier to locate what you need during assembly.


Step 4: Follow the Visual Guide

Ikea instructions use a combination of images and minimal text.

Follow the visual guide step by step, ensuring you match the components accurately to the images.


Step 5: Secure Loose Fasteners

Before tightening any screws or bolts, loosely fit all fasteners to ensure proper alignment.

Once everything fits correctly, start tightening them gradually. Avoid overtightening, as it may damage the furniture.


Step 6: Check for Stability

After completing each major section, such as attaching legs or connecting panels, check the stability and levelness of the furniture.

Adjust as necessary to ensure a sturdy final product.


Step 7: Patience is Key

Assembling Ikea furniture may take longer than expected, especially if it's your first time.

Be patient, take breaks when needed, and doublecheck your work as you progress to avoid mistakes.


How an Expert Can Help You


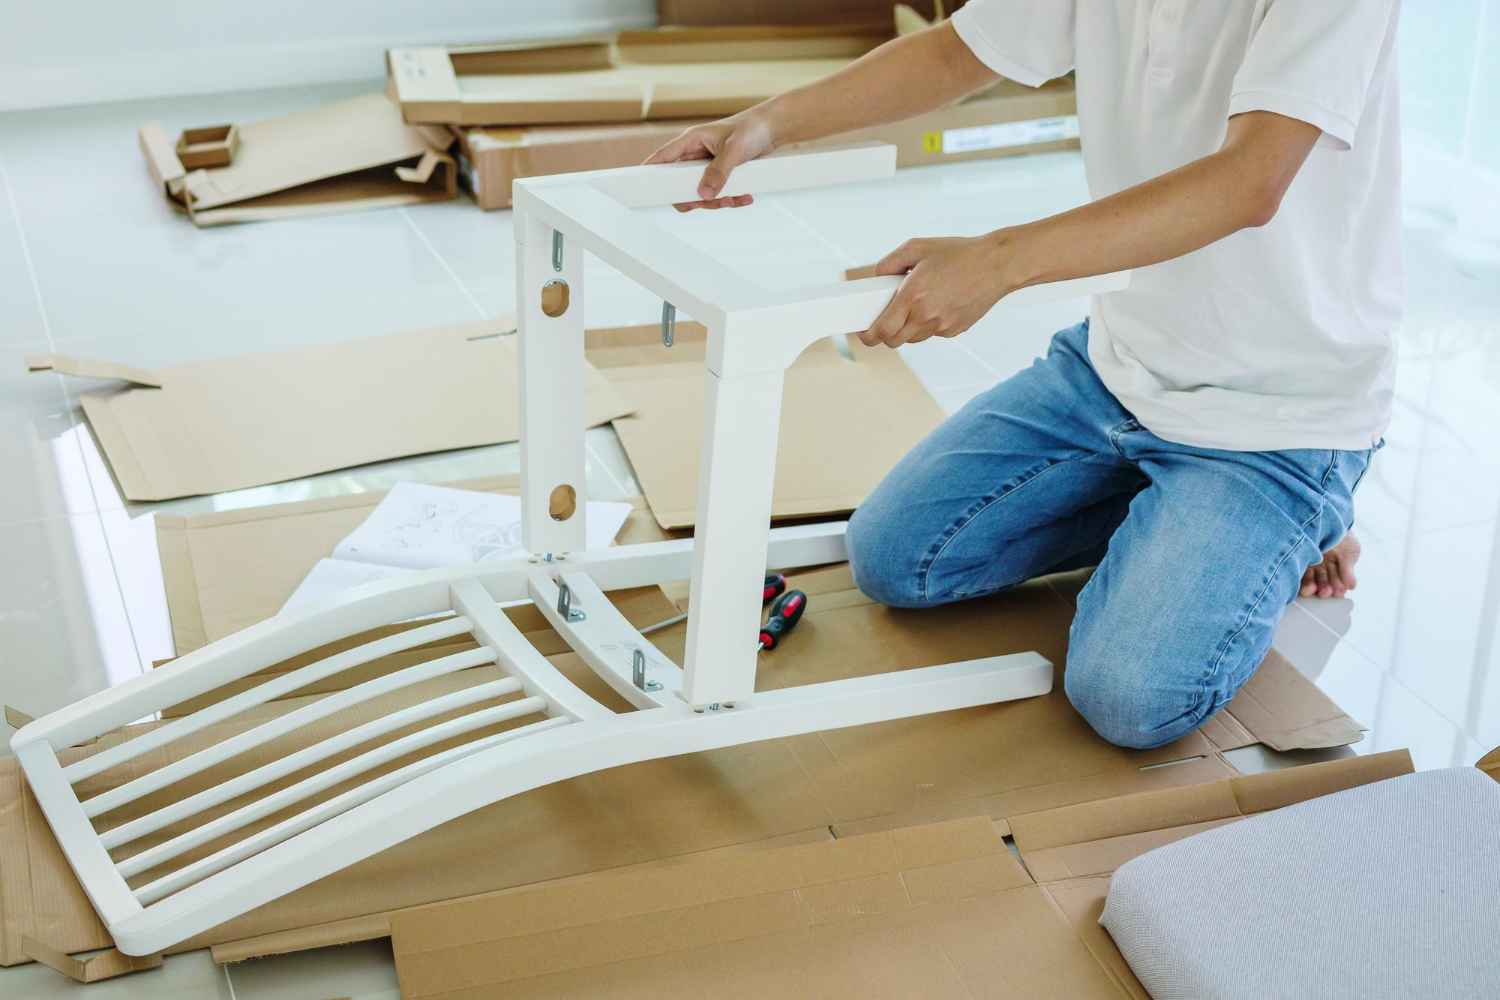
While DIY assembly of Ikea furniture can be a fulfilling project, there are instances where seeking the assistance of an expert can make a significant difference:


1. Time Efficiency: Professionals are well versed in Ikea's assembly process, which means they can complete the task much faster than someone unfamiliar with the instructions.

2. Precision and Accuracy: Ikea furniture often requires precise alignment and fitting. Experts can ensure that all components are perfectly assembled, reducing the risk of structural issues down the line.
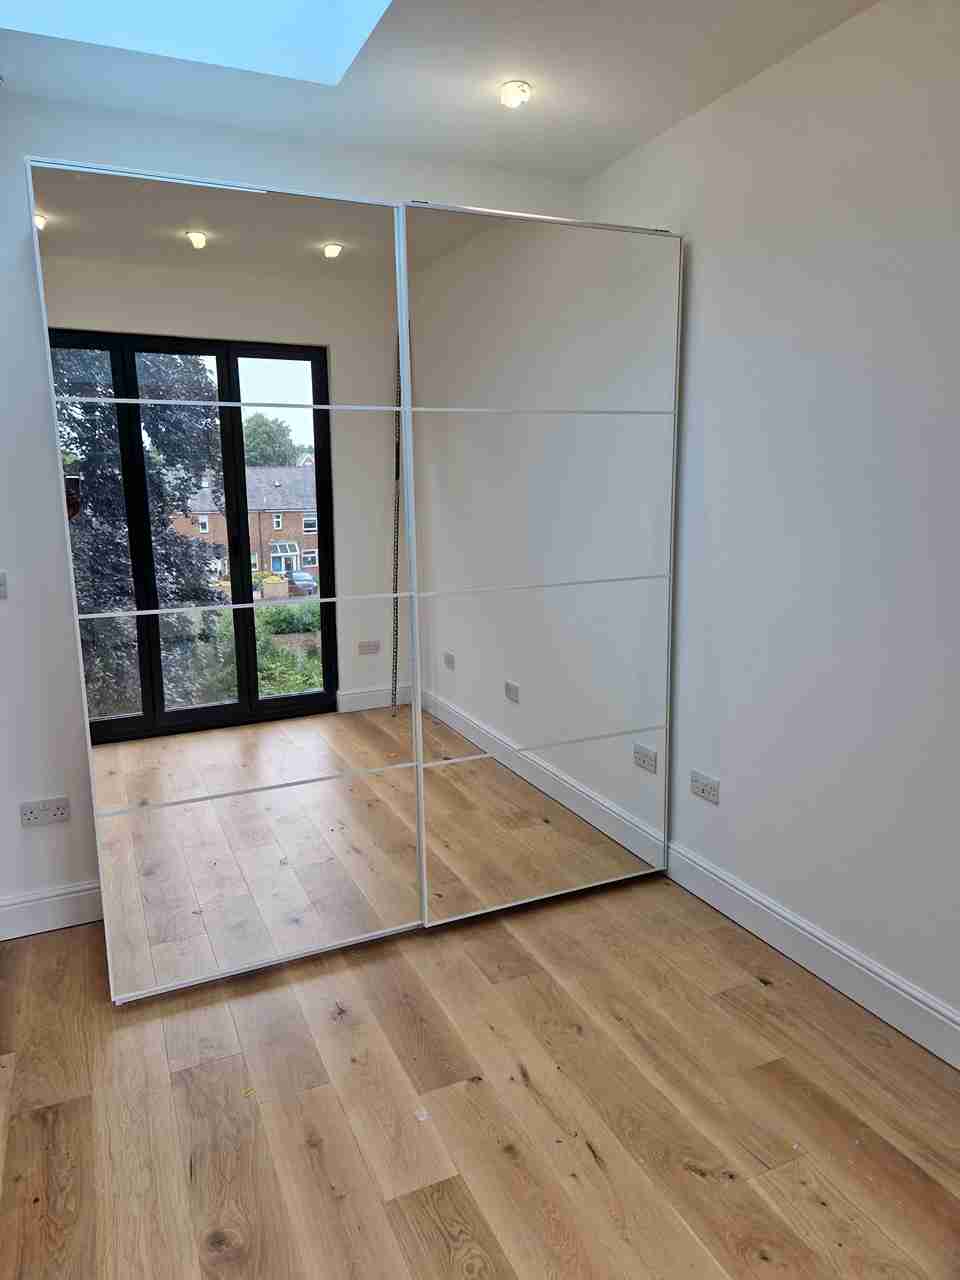
3. Experience with Complex Pieces: If you're dealing with a particularly intricate piece of furniture, such as a wardrobe with sliding doors or a multifunctional unit, experts have the experience to handle complex assembly effectively.

4. Minimizing Stress: Furniture assembly can be frustrating when things don't go as planned. Hiring an expert can alleviate the stress and frustration associated with assembling challenging pieces.

5. Professional Tools: Experts come equipped with their own professional grade tools, ensuring that every component is securely fastened and aligned correctly.

6. Warranty Protection: Some experts may offer warranties or guarantees on their assembly work, providing peace of mind in case any issues arise after assembly.

In cases where you have limited time, intricate furniture, or a preference for professional precision, enlisting the help of an expert can be a wise choice for a seamless Ikea furniture assembly experience.


Conclusion

Assembling Ikea furniture with provided instructions and a few basic tools is a manageable and rewarding task. By following Alain Assembling's step by step guide and staying patient, you can transform a flatpack into a stylish and functional addition to your home.

Remember, it's not just about creating furniture; it's about creating memories and a sense of accomplishment. Happy assembling!

bottom of page