
Expert Furniture Assembly in London: From Homes to Commercial Offices Whether you are moving into a new residential property or
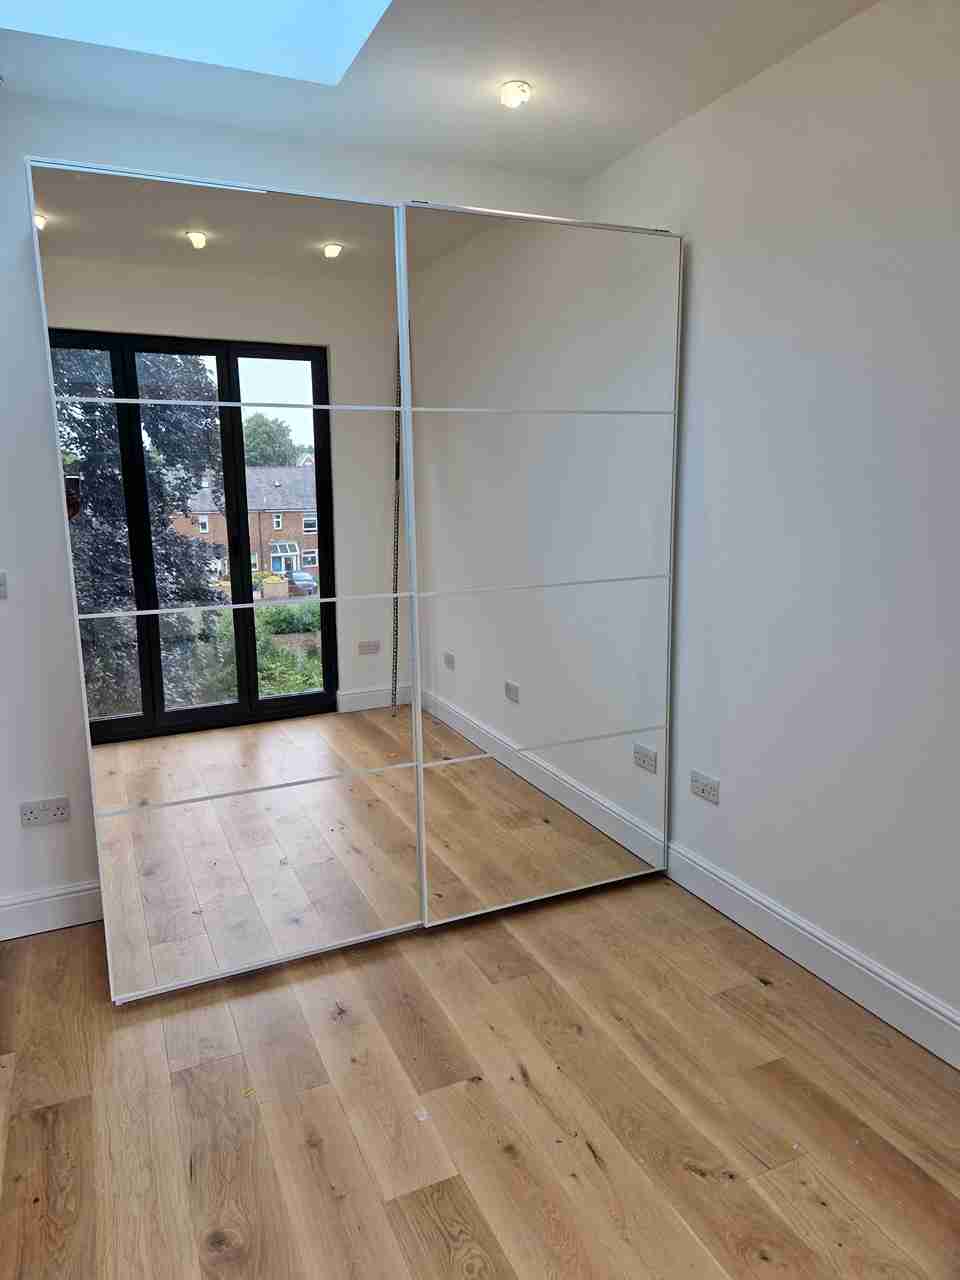
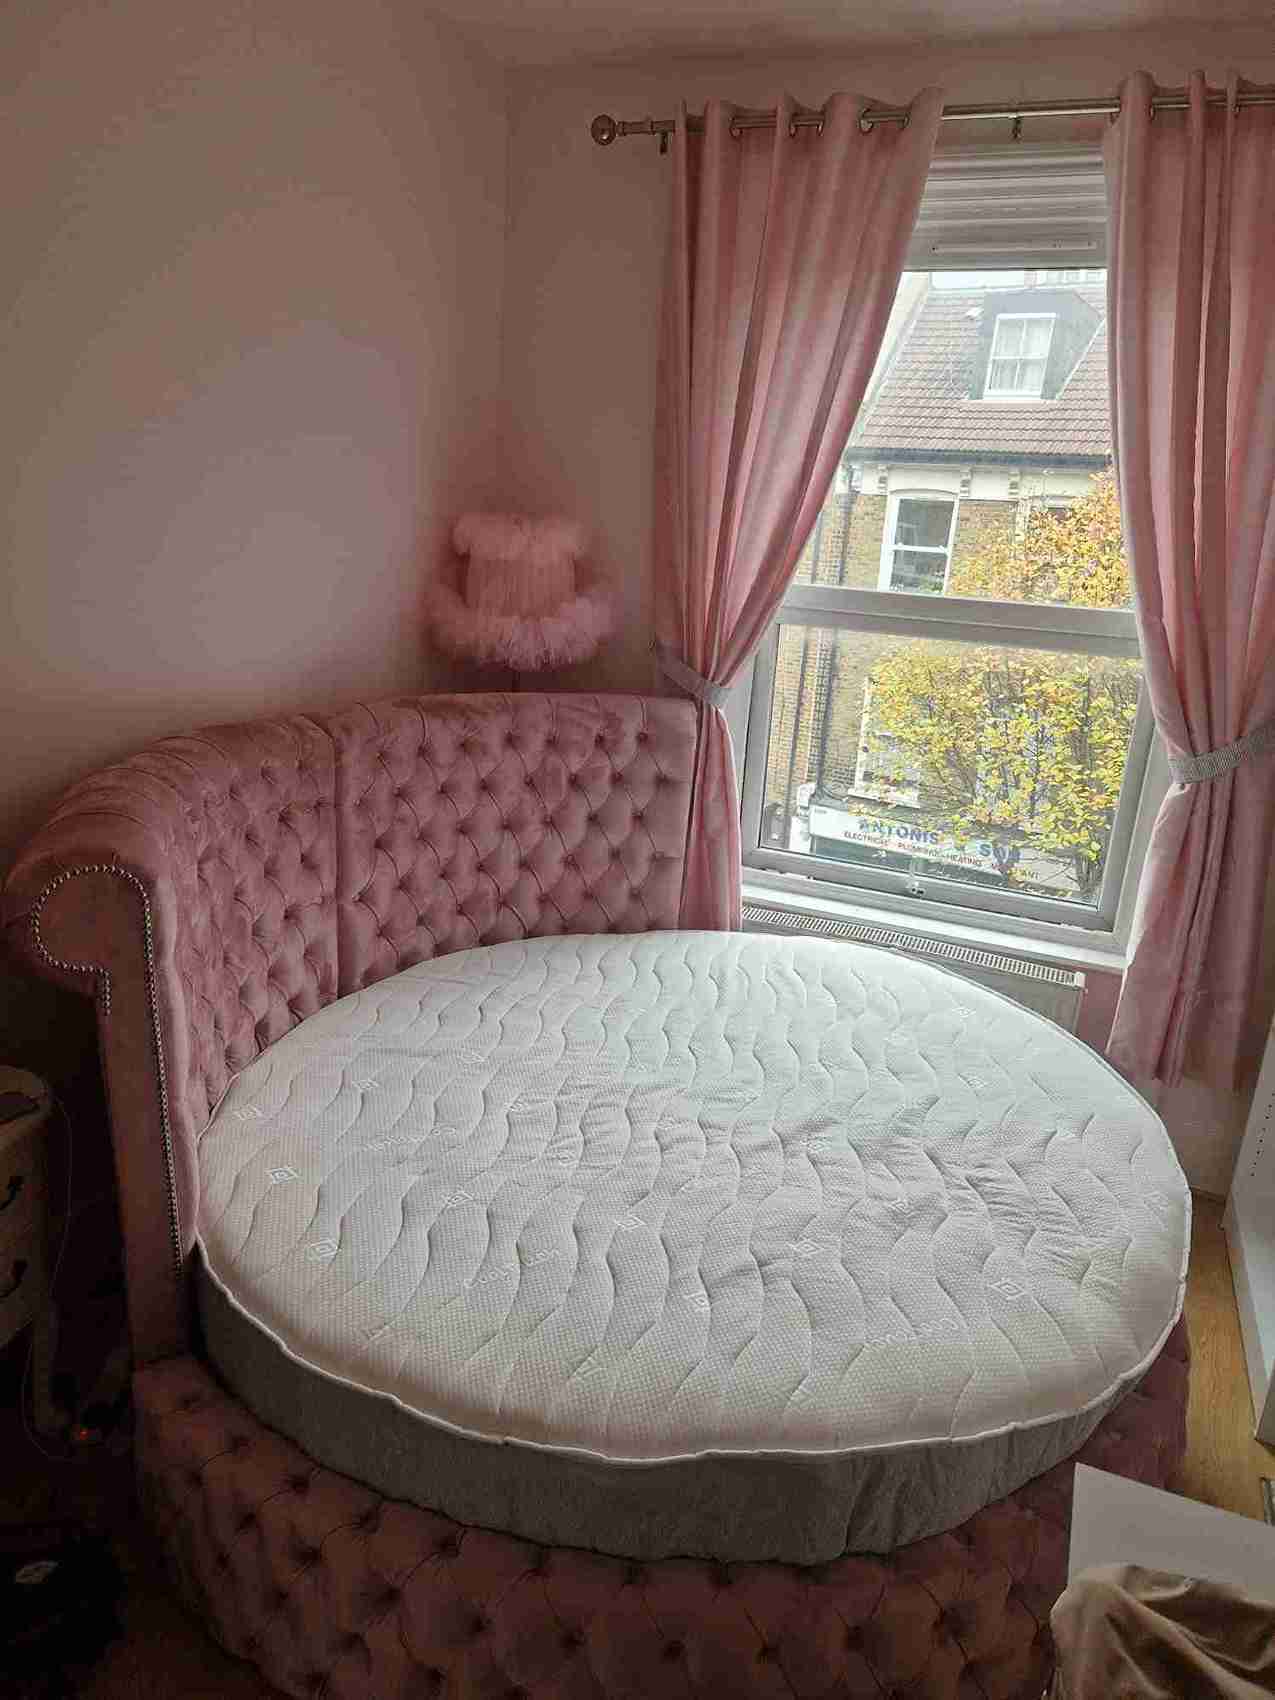
We are the London’s leading flat pack assembling and furniture installation service provider, offering unwavering commitment to excellence. Leveraging our extensive knowledge and strategic work approach, we offer reliable services and promising results. Collaborate with the experts to streamline your experience with unparalleled professionalism and expertise.

Our team of furniture assembly experts will handle all of your flat pack furniture assembly and installation needs, throughout London and the surrounding area. Whether you are searching for furniture assembly for your home, office, or outdoor area, our team has the right solution for you. We offer private home assembly services, as well as business or corporate furniture assembly services. Call us today to discuss our professional, efficient, and affordable flat pack assembly services.





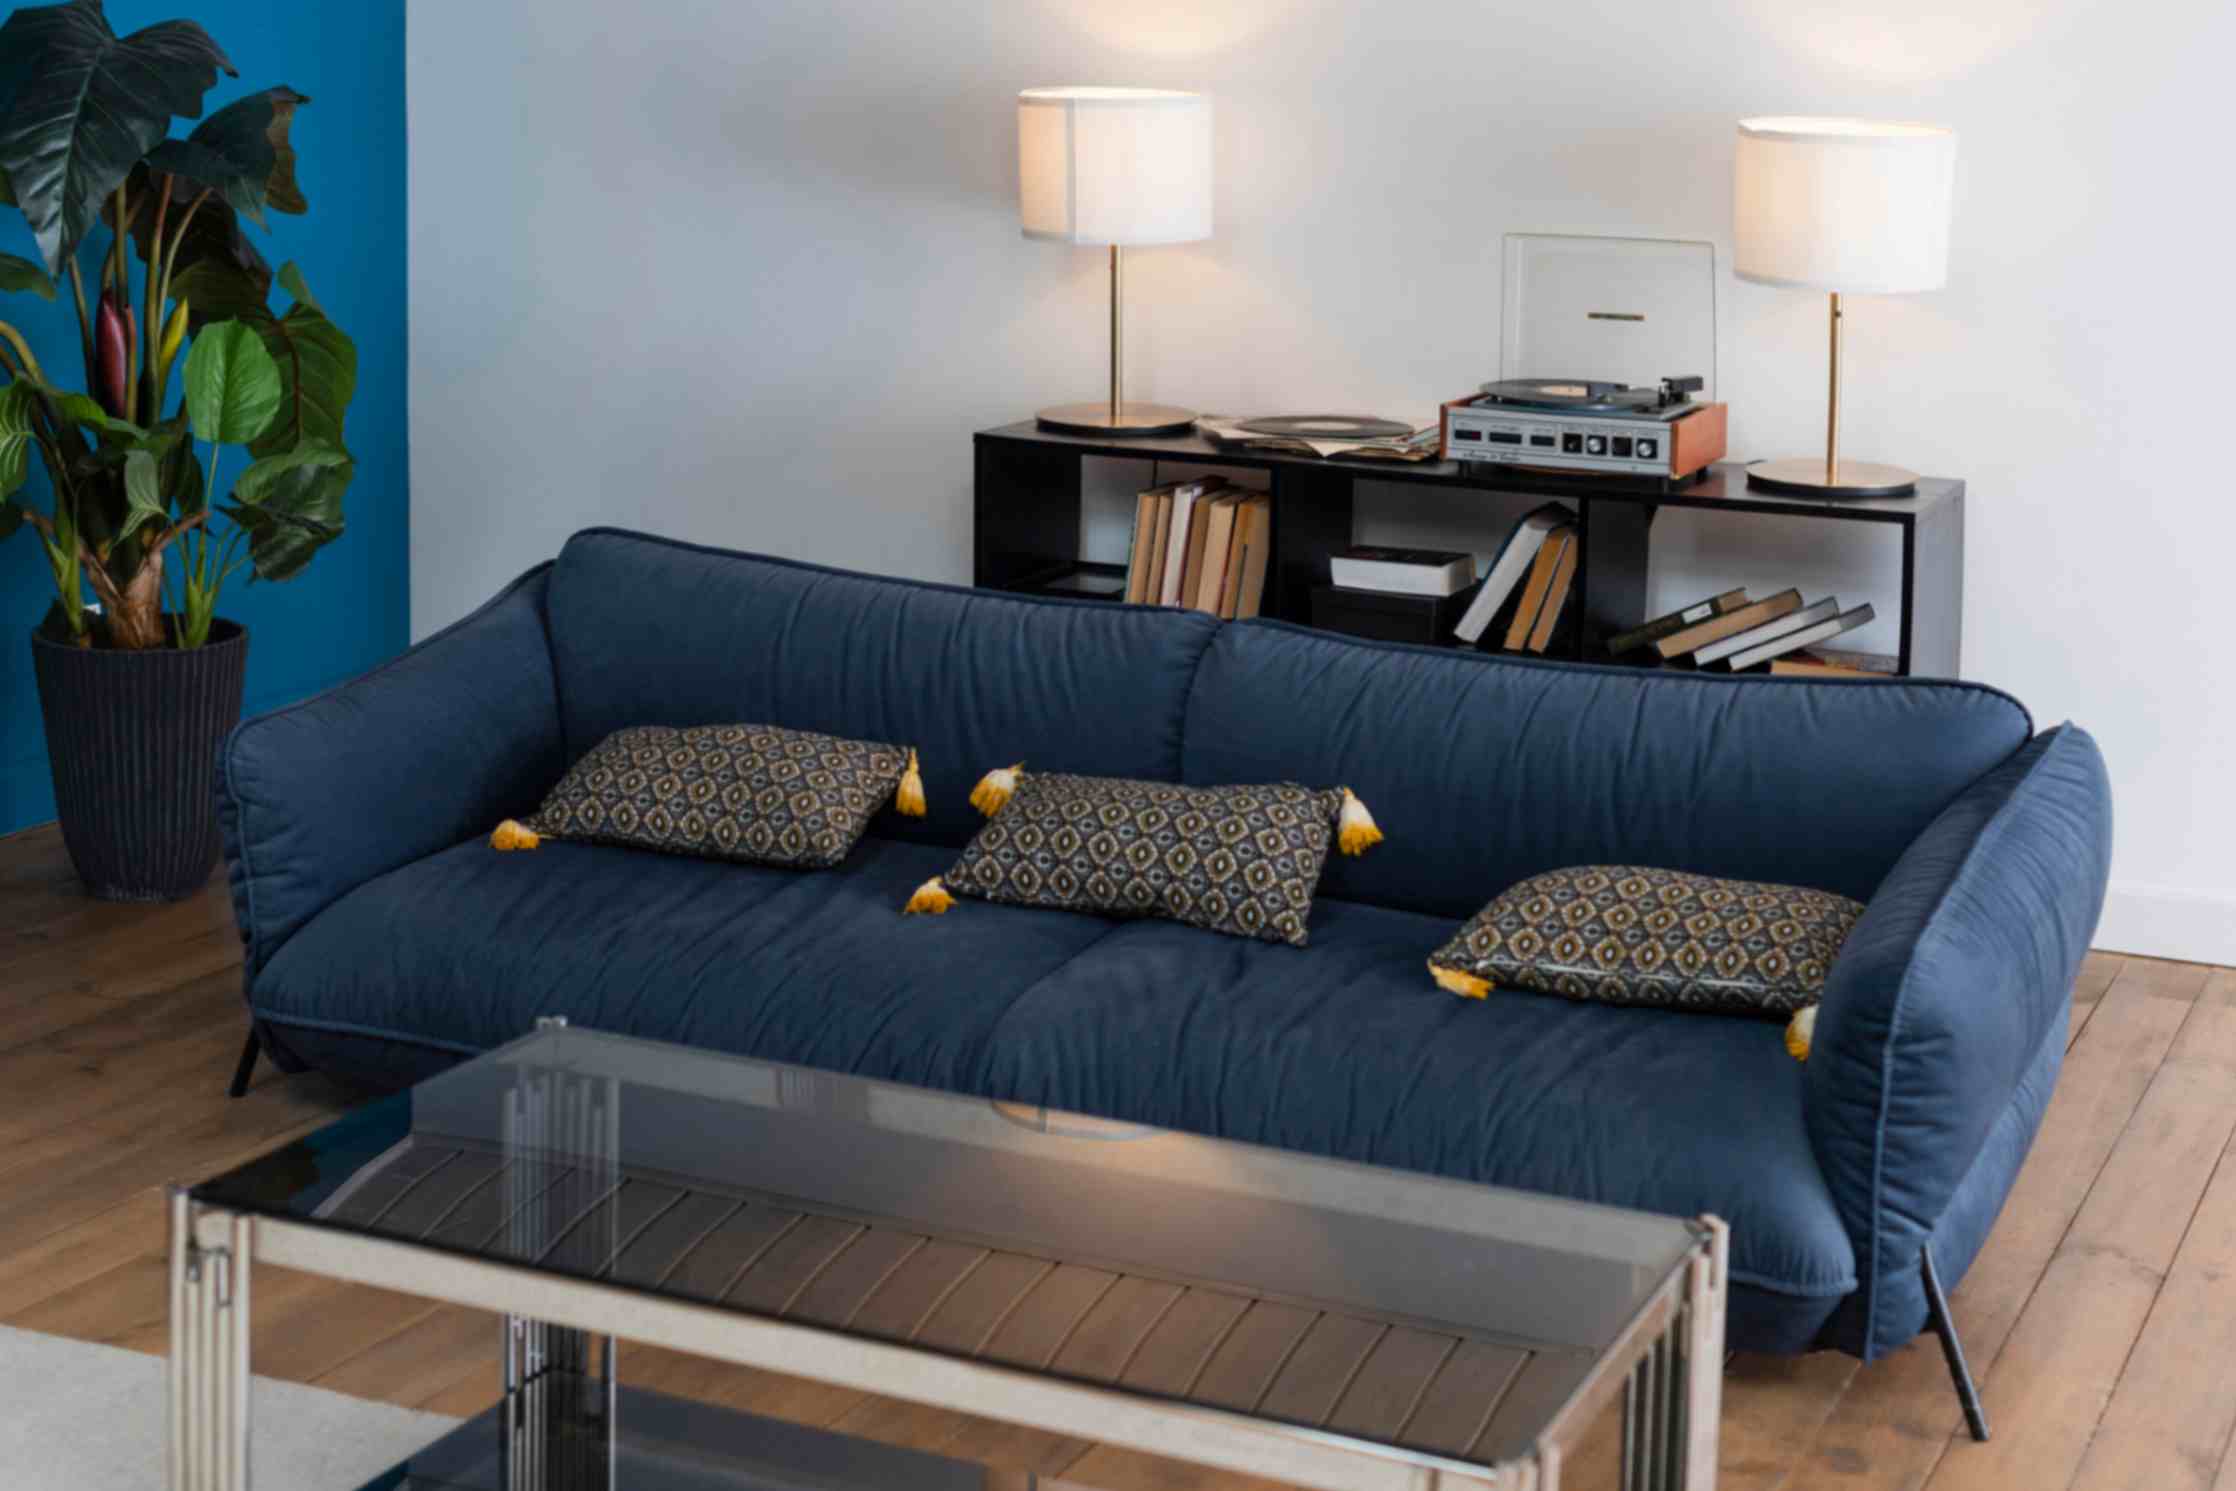
Fitted wardrobes are a smart addition to your space, enhancing the home’s storage capacity. They help you use your space efficiently and provide a high visual appeal that matches your interior design. They can complement your décor, showcase your style, provide storage, and hide the TV if not in use. Therefore, if you want to make an informed decision about styling and designing your wardrobes, the best option is to install fitted wardrobes in your living space.
In this guide, you will explore the significance of investing in fitted wardrobes and the assembly instructions you can follow to install them on your walls.
A fitted wardrobe is a custom-made cabinet built into your living room by taking accurate measurements to use all the available space. They are secured to the walls and floors with screws, nails or brackets. Also known as a built-in wardrobe, it is designed to get the most out of storage space and create a flawless look.
Fitted wardrobes can be customised to your requirements and equipped with drawers, shelving, or walk-in closet options. They optimise awkward spaces, like under sloped ceilings and around fireplaces. Mirrored doors can be added to the fitted wardrobes that reflect natural light, brightening the room.
There are various benefits of investing in fitted wardrobes, including:
Maximised Space: Fitted wardrobes can be tailored to suit your room’s dimensions, accommodating vertical space and awkward corners. They can offer 40% more storage than isolated wardrobes.
Custom Storage Space: These are designed to complement your personal style and accommodate your storage requirements, creating extra shelves for books, shoes, or dresses.
Increased Property Value: A fitted wardrobe can be a desired feature that helps to enhance your property’s value and attract potential buyers.
Durability: The fitted wardrobes are made from durable materials, offering a lasting solution.
Clutter-Free Living: Fitted wardrobes help keep your living space organised with customised storage solutions.
Budget-Friendly: Fitted wardrobes are a cost-effective choice that can save you money in the long run by reducing the need to replace furniture or buy extra storage furniture items.
Space Efficiency: These wardrobes can easily integrate into your smaller room space by fitting against the wall.
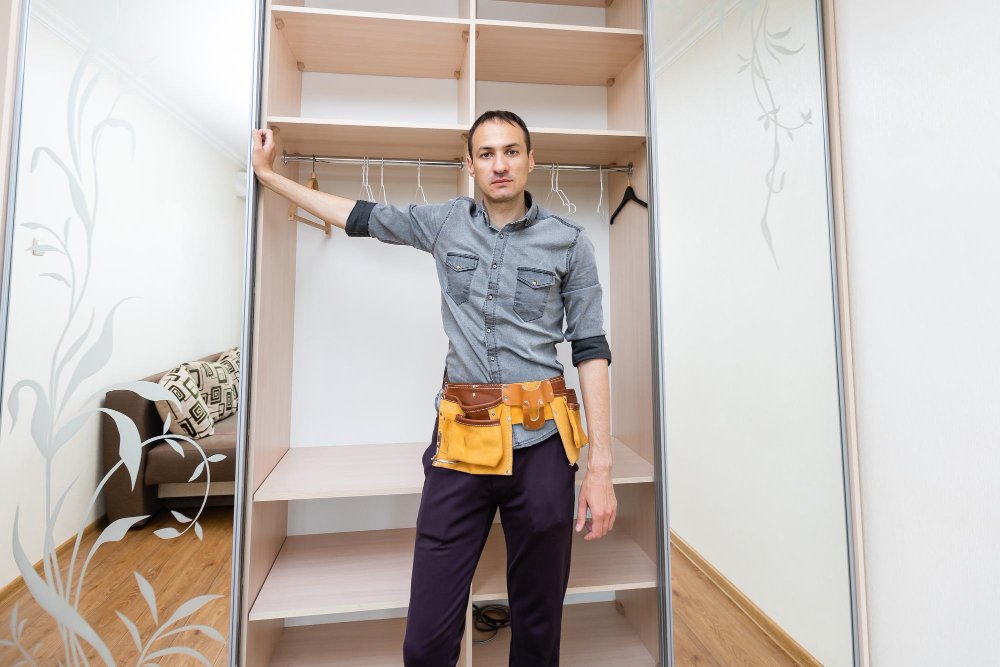
Follow the fitted wardrobes’ assembly instructions, including attaching side scribe panels.
Take the left side panel and screw in the adjustable legs adding dowels and cam pins. Then, repeat with the right side.
With the left side standing upright, attach the two L-shaped braces to the front cam pins screwing in tightly. Fit the three flat rear braces into the cam pins at the rear and then attach the right side panel to create the cabinet frame.
Adjust the legs with the screwdriver. The top of the legs should be below the level of the front brace and the rear panel groove (25 mm gap between the bottom of the cabinet and floor).
Slot the wardrobe’s back panel into place and fix it using two 30 mm screws through the holes in the top.
Move the wardrobe to its final place and ensure its level by adjusting the legs and using a spirit level. You can now add any other cabinets and fix them to the wall that make up your wardrobe.
Cut and scribe top and bottom plinths to suit your space for a floor-to-ceiling look. Now, clamp the plinth to the L-shaped brace and screw them together from the inside.
Insert top and bottom panels by sliding into the groove of the back panel and then laying flat. This should be a tight fit to keep things secure. Using 40 mm screws, fix the panels into place.
For the drawers, please pay close attention to the positioning of the holes and drawer runners. The draw box will arrive pre-built; slide the runners out fully. Place the draw box on top, and it should click into place.
For wardrobe doors, insert the hinge into the door and close the cover plate to lock it into place. Then, line up against the holes of the cabinet, which will require two individuals.
Add your handles for ultimate flexibility. Please note that the holes are not pre-drilled for handles, allowing you to place them wherever works best for you.
You must attach your end panel if your wardrobe has an open end. Drill holes through the inside of the cabinet. To avoid any bowing over time, it is recommended to have a hole at the top, middle, and bottom. Then, attach the end panel and screw in from the inside.
Place the scribed panel against your wall. Rest a pencil on the wall and draw a line around the scribe panel. This will show any undulations in the wall surface if it’s uneven.
You can then cut the line and smooth the panel with a circular saw and sander. Place the panel back against the wall and measure the gap between the wall and the wardrobe. Then, cut the panel to size.
With a 4mm drill bit, drill four holes inside your cabinet, which should be 9 mm from the front edge. Fit the panel into the gap and screw through the holes using 40 mm screws.
For the best finish, use a colour that matches the silicon between the panel and the wall. Cut and scribe the top and bottom plinths to suit your space for a floor-to-ceiling look. Clamp the plinth to the L-shaped brace and screw them together from the inside. Your wardrobe is complete.
Expert Furniture Assembly in London: From Homes to Commercial Offices Whether you are moving into a new residential property or
Custom IKEA PAX & Wardrobe Hacks Across London Custom fitted wardrobes and wall-to-wall storage units can transform a bedroom or
When you order new furniture to your home or office, you need a local handyman team you can rely on